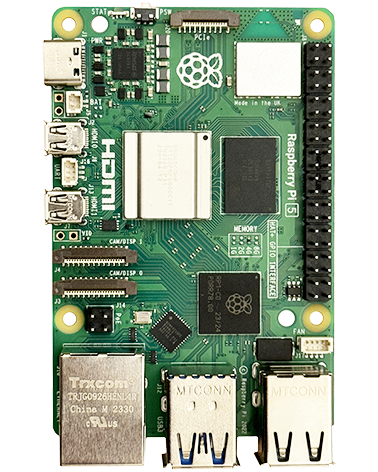
These instructions are good for installing on Ubuntu or Raspberry Pi OS.
Ensure all packages are updated before you start
sudo apt-get update && sudo apt-get upgradeInstall apache2
sudo apt install apache2Install PHP
sudo apt install php libapache2-mod-php php-mbstring php-curlTest the web server
Get the server IP address using:
hostname -IType it into a browser, you should see the default Apache webpage (use http, not https!)
Web files location
By default: /var/www/html/
Config
Apache 2 config etc
See the ubuntu documentation here.
PHP config etc
See the ubuntu documentation here.
Apache Virtual Host
Apache uses virtual host files so that it knows how to handle each individual site. In each of the following steps, replace “mydomain.com” with the domain name you will use for the virtual host you are setting up.
Create the config file for it:
sudo nano /etc/apache2/sites-available/mydomain.com.confPaste in the following:
<VirtualHost *:80>
      ServerName mydomain.com
      ServerAlias www.mydomain.com
      DocumentRoot /var/www/mydomain.com/public_html
      ErrorLog ${APACHE_LOG_DIR}/mydomain.com_error.log
      CustomLog ${APACHE_LOG_DIR}/mydomain.com_access.log combined
</VirtualHost>
Save it using CTRL+X > Y > Enter
Create the folder for the sites files
sudo mkdir -p /var/www/mydomain.com/public_html
sudo chown -R www-data:www-data /var/www/mydomain.com/public_html
sudo chmod -R 770 /var/www/mydomain.com/public_html
Activate it
sudo a2ensite mydomain.com.confHave Apache reload its configuration:
sudo systemctl reload apache2
USEFUL?
We benefit hugely from resources on the web so we decided we should try and give back some of our knowledge and resources to the community by opening up many of our company’s internal notes and libraries through resources like this. We hope you find it helpful.
Please feel free to comment if you can add help to this page or point out issues and solutions you have found, but please note that we do not provide support here. If you need help with a problem please use one of the many online forums.

