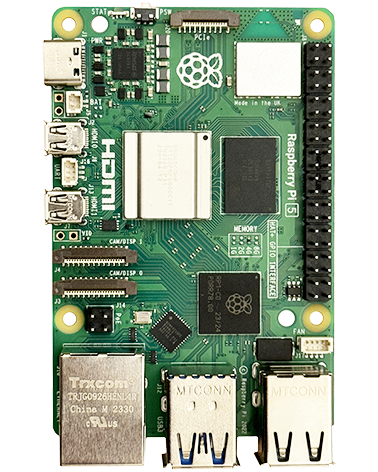
The following instructions will set your RPi to share its files on your local network and be accessible by Windows.
This is based on the great guide here.
Install Samba
sudo apt-get install samba samba-common-bin
Samba contains the SMB protocol, support for the Windows naming service (WINS), and support for joining Windows workgroups. Samba-common-bin contains a tool that you'll need to register users with Samba.
Configure Samba
sudo nano /etc/samba/smb.conf
Search for the workgroup line (normally at the top) and if necessary set it to match your workgroup (if you don't need it set then it can just be left as default, works fine for us not changed)
Below it you'll find the wins support line, if there is a # at the start of the line remove it to stop it being commented out and then ensure it is set to "yes", so you should have:
workgroup = your_workgroup_name
wins support = yes
Add a section at the bottom which contains the settings for the share:
[pihome]
   comment= Pi Home
   path=/home/pi
   browseable=Yes
   writeable=Yes
   only guest=no
   create mask=0777
   directory mask=0777
   public=no
Change path as required ( "path=/" is fine if you want access to the entire drive).
If you want to permit read only access change writeable to "No"
Use CTRL+X to save and exit.
Finally add the pi user by typing this command and entering the pi's password twice:
sudo smbpasswd -a pi
That's it. If you select "Network" in windows explorer device "RASPBERRYPI" should be found (it may take a minute or two to appear). In it the "pihome" folder will be the folder you've shared.
Restarting Samba
sudo /etc/init.d/samba restart


11 years ago
Just to let anyone know who is curious, I followed the above set up and it works for my Mac, also. I am running OS X Yosemite.